Canning and pickling might sound intimidating, but it really comes down to three important pieces: fresh produce, clean jars, and not accidentally giving yourself botulism. Start with good fruits and veggies. Skip the moldy ones unless you’re aiming to invent a new penicillin. Wash everything carefully, just like your mother-in-law might drop by for a surprise visit. Give all your jars, lids, and bands a thorough scrub.
Getting Ready to Preserve: What You Need for Canning and Pickling
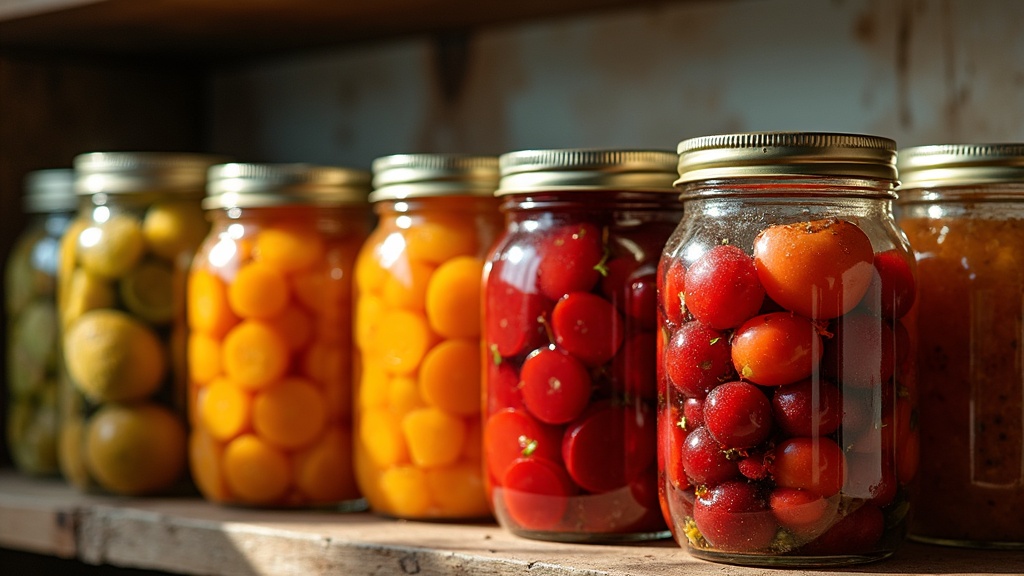
Saving your summer (and fall) bounty can feel like unlocking a superpower. Suddenly, you’ve got jars of pickles, jelly, or tomato sauce that can step up even the dullest winter meal. So, what do you need to kick things off? Start with top-quality produce, solid glass canning jars with tight lids, and some basic equipment. Make sure to have a big stockpot or a water bath canner ready. A jar lifter helps grab hot jars, and a widemouth funnel keeps things neater during filling.
Quality jars are important. It’s not just about how they look—they’re made to handle the heat and pressure that goes along with canning. Keep the old pasta sauce jars for dry storage instead. Ball and Kerr are two popular brands; their canning jars and accessories are available at big-box stores, hardware stores, or online. Stocking up on extra rings and lids is a wise move, as lids are made for single use only.
Canning Basics: A Step-by-Step Look
Canning works by sealing food inside airtight jars to block out bacteria and mold. For high-acid foods like jams, pickles, and tomatoes, a boiling-water bath gets the job done. This approach is good for beginners. For low-acid eats (beans, carrots, meats), you’ll need a pressure canner because boiling water alone can’t deal with some tough food spoilers, including those that cause botulism.
- Wash everything: Scrub your produce, jars, and lids very well. Sterilize your jars by boiling them in water or using the hottest cycle on your dishwasher.
- Prep your recipe: Chop, slice, or cook your ingredients based on the instructions. Remember, hot food should go into hot jars to avoid shocking and cracking glass.
- Fill the jars: A funnel makes this job less messy. Ladle your recipe in, then use a spatula or bubble remover tool to push out any hidden air bubbles. Wipe the rim carefully—any bits of food can ruin the seal. Place the lids on and screw on bands until they’re snug but not overly tight.
- Process the jars: Place jars in the canner, covering them with at least an inch of water. Bring everything to a roaring boil and process for the time your recipe calls for. For pressure canners, use your handbook to check time and pressure.
- Let jars chill: Use the jar lifter to take jars out and put them on a towel. Leave them for 12–24 hours. Listen for the signature “pop” sound—this means your vacuum seal worked. Avoid poking the lid as it cools. A proper seal will make the lid stay flat and resistant to flexing.
In no time, your shelves will shine with beautiful jars. If a jar doesn’t seal right, don’t panic—just stick it in the fridge and use it up soon.
Pickling Methods: Quick and Fermented
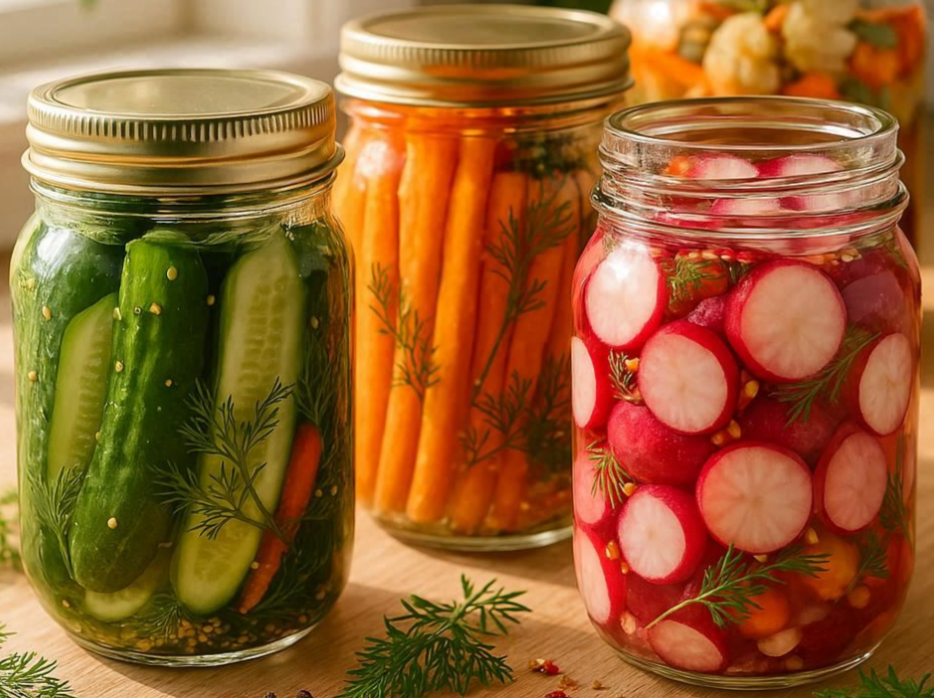
Pickling isn’t limited to cucumbers. You can pickle all sorts of things: carrots, green beans, peppers, onions, even watermelon rind. There are generally two main approaches: the speedy quick pickling with vinegar or the slow-but-worth-it fermenting method.
Quick Vinegar Pickling
This is the shortcut jump into pickling—heat up vinegar, water, salt, and your favorite spices. Pour the mixture over your prepped veggies in jars, let cool, then refrigerate. You’ll have crisp, tangy pickles in just a day or two. While delicious, these don’t keep forever outside the fridge unless you process them in a water bath canner for shelf stability.
Fermented Pickling
If you have some patience, fermented pickling brings a punch of flavor and a dash of kitchen cool factor. Pack your vegetables in a saltwater brine—no vinegar in sight—and let the wild microbes react at room temperature for one to three weeks. This method creates natural acids that keep your food both tasty and safe. Some say it’s excellent for your gut health too. Monitor for bubbles and floating bits—this tells you things are going right.
Beginner Tips for Safe and Tasty Results
- Pick solid recipes: Especially when starting out, stick with tried-and-true recipes from trusted sources like the National Center for Home Food Preservation (nchfp.uga.edu) or local extension offices.
- Label every jar: Mark the date and contents on each jar. Future you will thank you when it’s time to sort through the stash.
- Store in cool, dark places: Keeping your stash out of light and away from heat helps it last longer and keeps the flavors right.
- Avoid tinkering with the science: Changing up the amount of vinegar or salt may lead to problems. Stick to the recipe’s ratios until you have more confidence.
- Check before you dig in: If a jar’s seal is broken, food looks strange, smells odd, or bubbles up when opened, toss it no questions asked. Safety comes first.
Careful prepping and following the rules means you’ll wind up with safe jars and delicious eats. The sound of those lids popping is somehow one of the most satisfying kitchen moments—it lets you know your hard work paid off.
Common Challenges and How to Handle Them
- Broken jars: If jars break, it’s likely because they were cold when filled with hot liquid, or they bumped together. Always start with warm jars, space them apart in the canner, and retire any that chip or have hairline cracks.
- Cloudy brine: This can happen due to too much salt, minerals in your water, or extra starch from veggies. Most of the time, it’s harmless, but always watch for classic spoilage signs.
- Mushy pickles: Soft pickles usually mean the cucumbers were overripe or had too little salt. To avoid letdowns, start with the freshest produce you can get and the right type of salt—plain canning salt works every time.
- Sealing problems: If the lid didn’t seal, maybe some food was left on the rim or you filled the jar a bit much. Try again with a new lid and always wipe the jar rim before closing.
Personal Foray into Pickling
The first time I tried pickling, I played around with the salt and ignored the recipe. The result? Disappointingly mushy, bland pickles nobody wanted. Since then, I’ve stuck to the directions, and every batch is a happy success.
Canning and Pickling Supplies: What’s Worth Having?
- Jar lifter: Lifesaver for grabbing hot jars from boiling water—don’t ruin your nerves or your fingertips.
- Wide mouth funnel: Fills jars quicker and keeps the kitchen less messy.
- Bubble remover/Headspace tool: Gets rid of sneaky air pockets and measures food-to-rim gap—key for a proper seal.
- Magnetic lid lifter: Grabs hot lids right out of hot water without burning yourself.
- Pressure canner: If you want to store veggies, soup bases, or low-acid foods for months, this is essential for safety.
Having these tools on hand makes the whole process faster, easier, and far less stressful. The fewer mistakes, the better the bragging rights.
Frequently Asked Questions
Question: How do I know if my canned food is safe?
Answer: A sealed jar—flat lid, no flex—stored somewhere cool and dark is a good start. Open it, and if you catch any bad smells, odd colors, cloudiness, or mold, don’t risk it. If you’re unsure, just toss it for safety’s sake.
Question: Which is better for beginners: canning or pickling?
Answer: Quick pickling is by far the easiest way to get started—you won’t need any fancy gear, and you see results fast. Canning takes more set-up but pays off for long-term storage options.
Question: Can I reduce the sugar or salt for health reasons?
Answer: It’s definitely tempting, but lowering sugar or salt too much in canning or pickling can lead to unsafe food. Wait until you serve the food if you want to adjust flavors, or look up tested reduced-sugar or low-salt recipes.
The Joy of a Well-Stocked Pantry
There’s nothing like seeing your shelves filled with jars of food you made yourself. Even if you felt like you were winging it half the time, it just looks impressive. Relying on straightforward recipes, trusted gear, and a dose of patience really helps. Your future self—mid-winter with snow outside—will thank you every time you reach for homemade pickles, tomatoes, or jam.
Preserving food this way connects you to kitchen traditions, saves money, and helps savor the best flavors of each season. So, check out new recipes, try stepping up your gear collection, and enjoy the tasty rewards.